Category: Tutorials
The Liquid Web knowledgebase provides information on thousands of topics surrounding every aspect of hosting, Linux, Windows, and countless other article types that help boost your Liquid Web experience!
How To Use the Index Manager in cPanel
II. How To Create an Email Account in cPanel
III. How To Set Your Default Address in cPanel
IV. How To Set up an Autoresponder in cPanel
V. How To Set up Email Forwarding in cPanel
VI. How To Set up Email Filters in cPanel
VII. How To Enable Spam Protection in cPanel
VIII. How To Add an MX Entry in cPanel
IX. How To Use Webmail from Within cPanel
X. How To Change Your cPanel Password
XI. How To Update Your Contact Information in cPanel
XII. How To Change Your cPanel Theme
XIII. How To Change the Primary Language in cPanel
XIV. How To Add a Record With the DNS Zone Editor in cPanel
XV. How To Back up Your Website in cPanel
XVI. How To Use the Disk Space Usage Tool in cPanel
XVII. How To Create Additional FTP Accounts in cPanel
XVIII. How To Password Protect a Directory in cPanel
XIX. How To Use the IP Blocker in cPanel
XX. How To Set up Hotlink Protection in cPanel
XXI. How To Create a Subdomain in cPanel
XXII. How To Create an Addon Domain in cPanel
XXIII. How To Create a Domain Alias in cPanel
XXIV. How To Set up Domain Redirects in cPanel
XXV. How To Create a MySQL Database in cPanel
XXVI. How To Use the Index Manager in cPanel
XXVII. How To Create Custom Error Pages in cPanel
XXVIII. How To Set up a Cron Job in cPanel
- This tutorial assumes you’ve already logged in to cPanel, and are starting on the home screen.
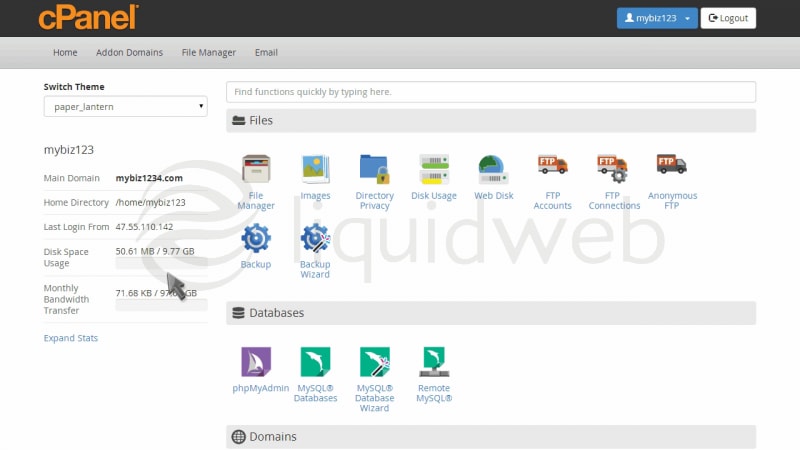
- Now let’s learn how to use the Index Manager.
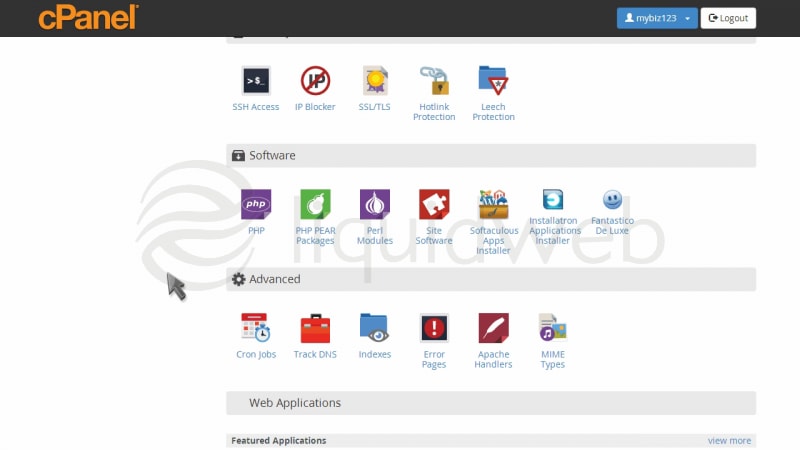
- Click the “Indexes” icon.
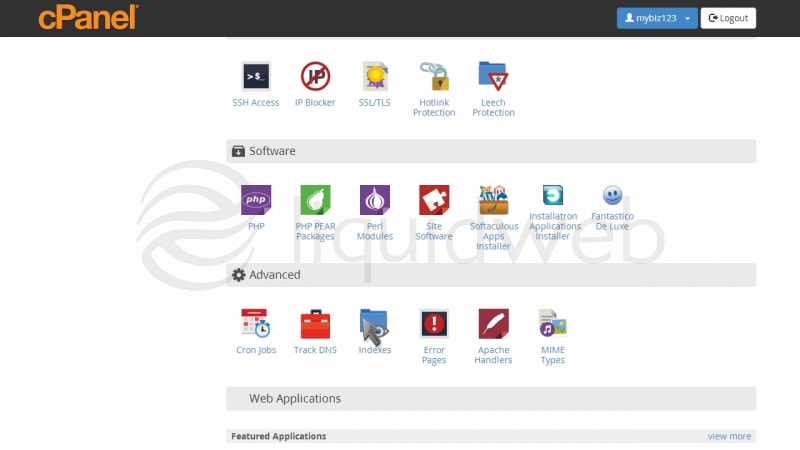
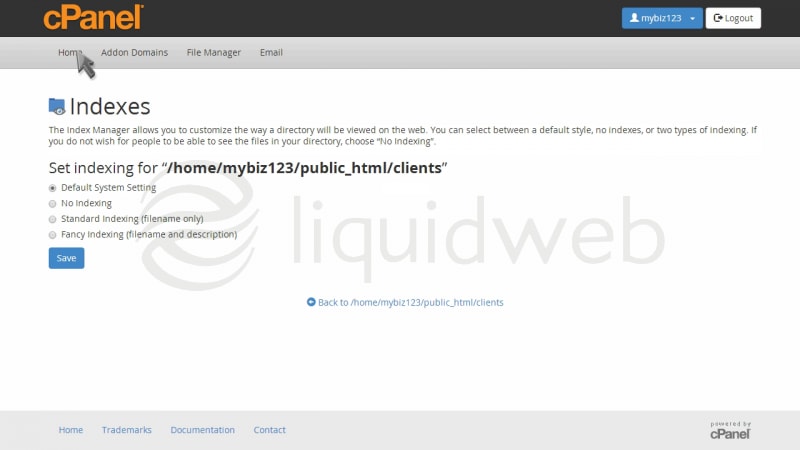
- The Index Manager enables you to control how directories on your website are displayed.
If there is no index.html file in a given directory, the contents of that directory will be listed in a browser. This can cause security issues. With Index Manager, you can set your account up to not allow your directory contents to be shown.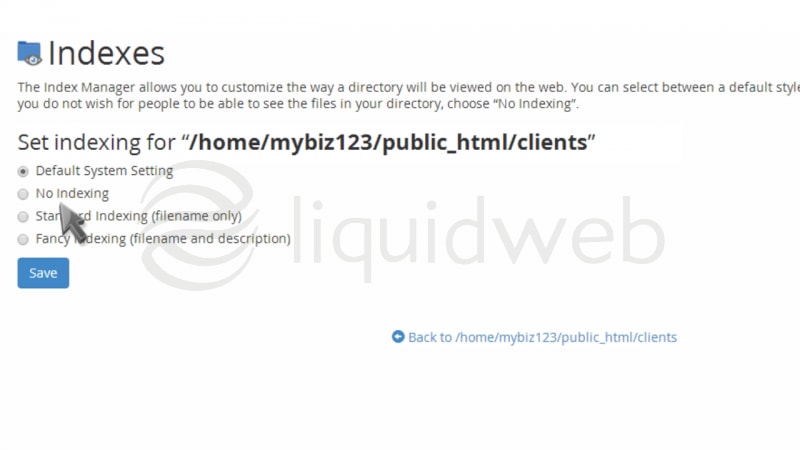
- Let’s setup Index Manager for the client’s directory.
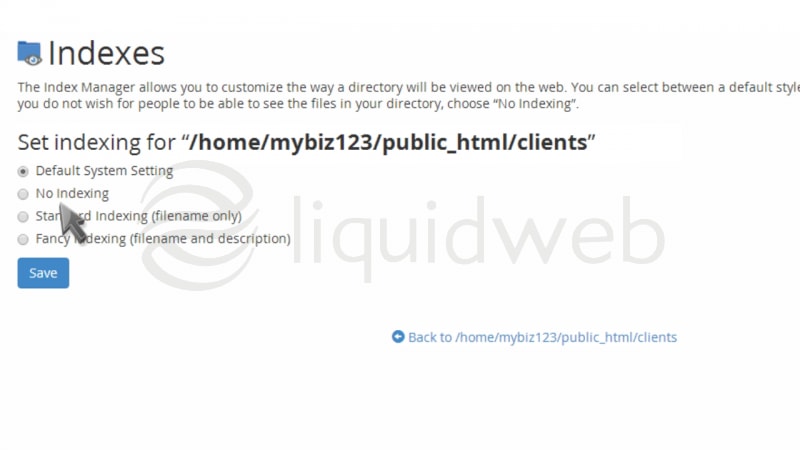
- There are four settings to choose from.
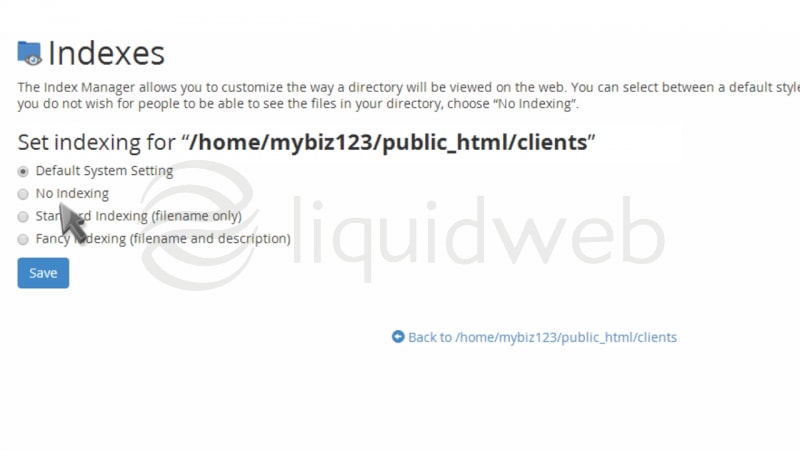
- The “Default System Setting” allows the directory contents to be shown. “No Indexing” does not allow directory contents to be shown. “Standard Indexing” prevents browsers from viewing contents of directories that do not contain image files. “Fancy Indexing” displays file names and information, such as file size and the last-modified date.
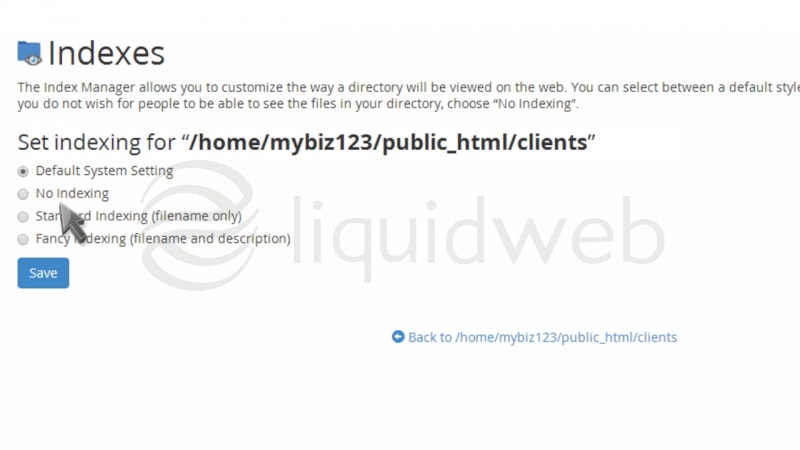
- Since we do not want the contents of this directory shown, we’ll choose the “No Indexing” option.
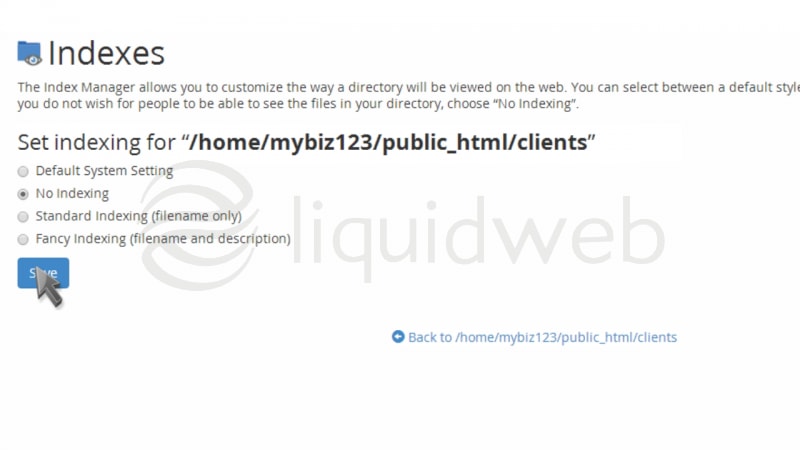
- That’s it! The index settings have been updated, and visitors can no longer view the contents of the clients directory.
How To Create Custom Error Pages in cPanel
II. How To Create an Email Account in cPanel
III. How To Set Your Default Address in cPanel
IV. How To Set up an Autoresponder in cPanel
V. How To Set up Email Forwarding in cPanel
VI. How To Set up Email Filters in cPanel
VII. How To Enable Spam Protection in cPanel
VIII. How To Add an MX Entry in cPanel
IX. How To Use Webmail from Within cPanel
X. How To Change Your cPanel Password
XI. How To Update Your Contact Information in cPanel
XII. How To Change Your cPanel Theme
XIII. How To Change the Primary Language in cPanel
XIV. How To Add a Record With the DNS Zone Editor in cPanel
XV. How To Back up Your Website in cPanel
XVI. How To Use the Disk Space Usage Tool in cPanel
XVII. How To Create Additional FTP Accounts in cPanel
XVIII. How To Password Protect a Directory in cPanel
XIX. How To Use the IP Blocker in cPanel
XX. How To Set up Hotlink Protection in cPanel
XXI. How To Create a Subdomain in cPanel
XXII. How To Create an Addon Domain in cPanel
XXIII. How To Create a Domain Alias in cPanel
XXIV. How To Set up Domain Redirects in cPanel
XXV. How To Create a MySQL Database in cPanel
XXVI. How To Use the Index Manager in cPanel
XXVII. How To Create Custom Error Pages in cPanel
XXVIII. How To Set up a Cron Job in cPanel
- This tutorial assumes you’ve already logged in to cPanel, and are starting on the home screen.
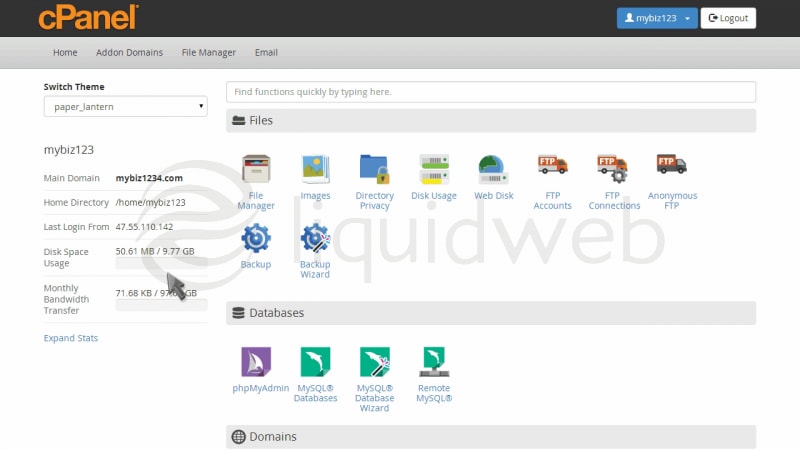
- Now let’s learn how to create custom error pages.
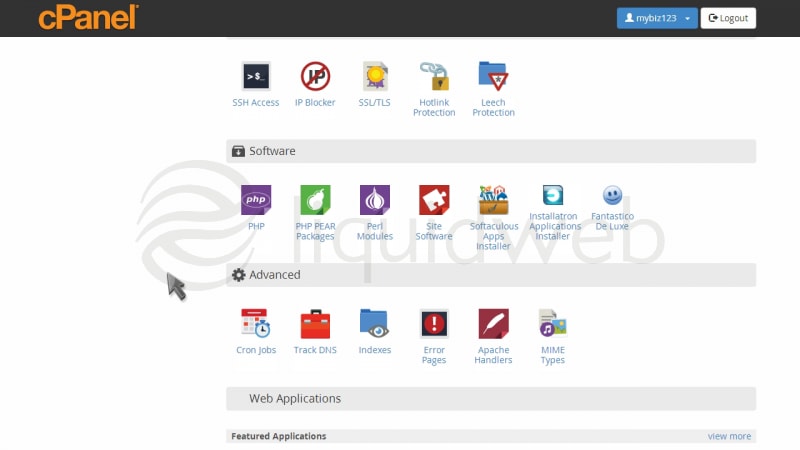
- Click the “Error Pages” icon.
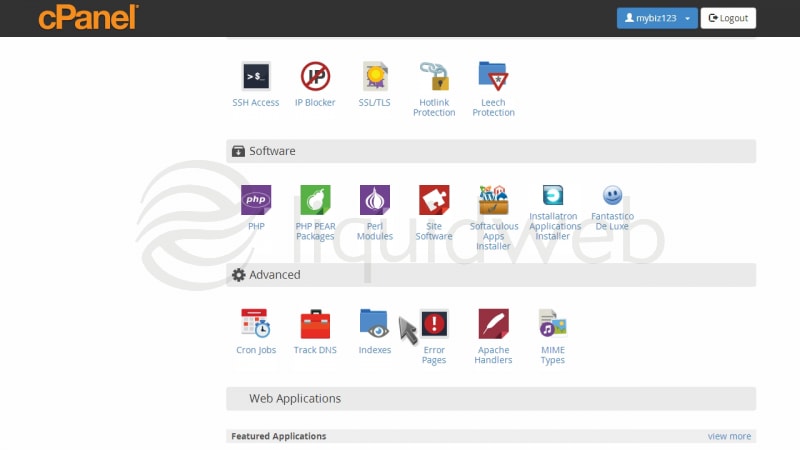
- There are several different error pages you can customize. Let’s customize the “404 error page”.
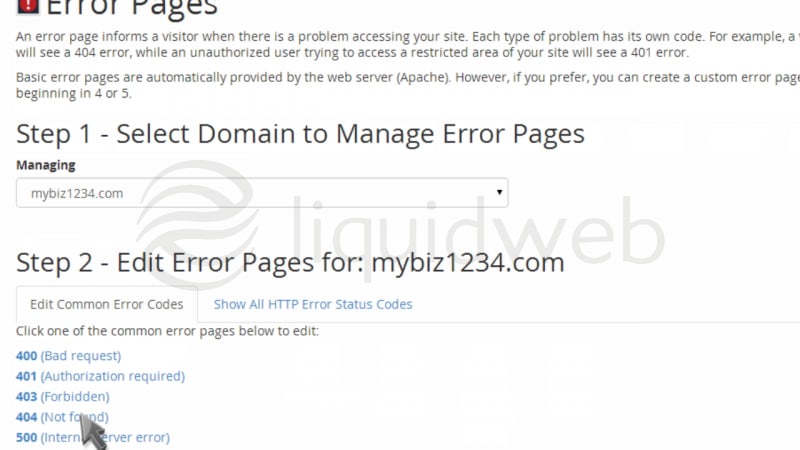
- This is where you create your custom error page… and you can include one or more tags to further customize the page.
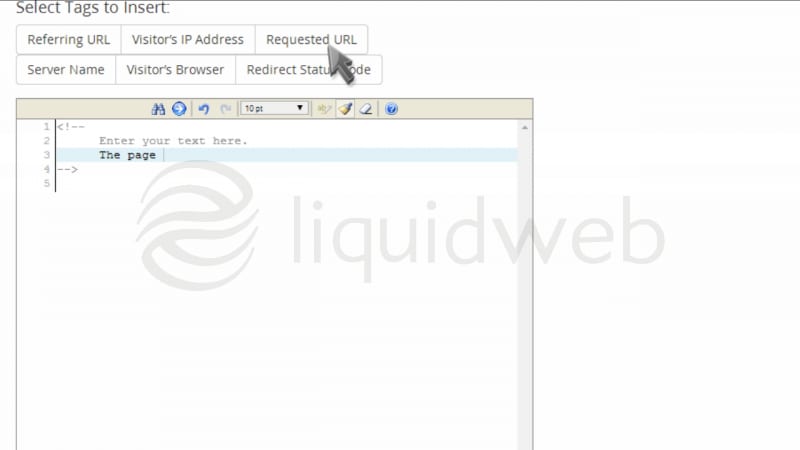
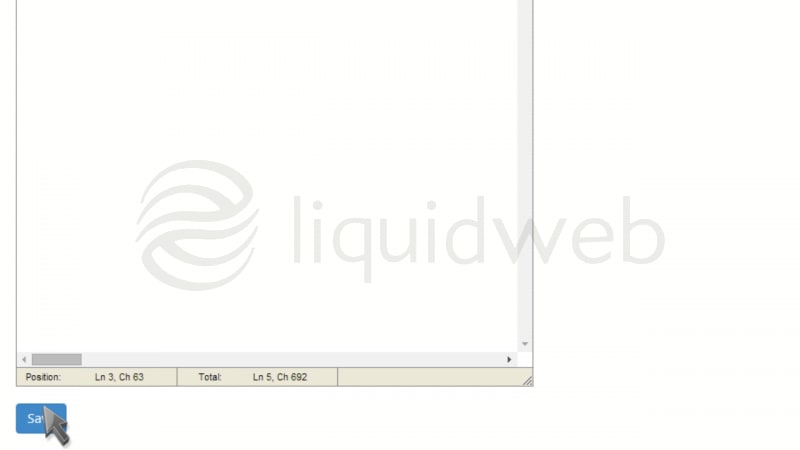
- When finished, click “Save”.
- That’s it! The custom 404 error page has been created.
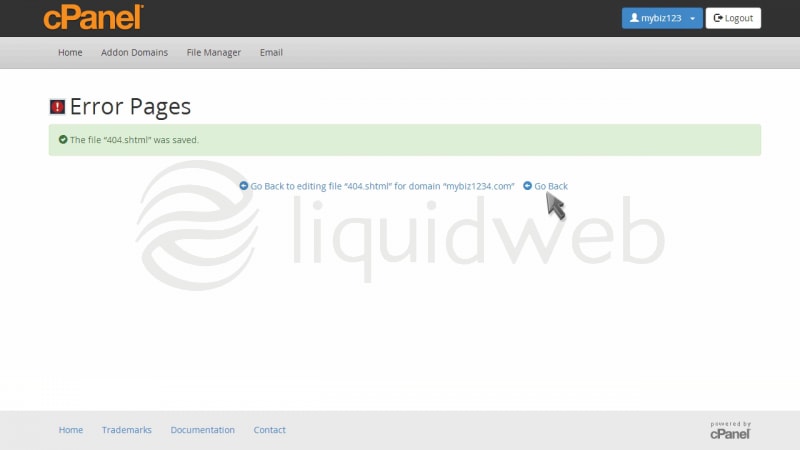
- You can customize the other error pages as well … but you don’t have to … all accounts come preset with standard error pages.
How To Log In To cPanel
II. How To Create an Email Account in cPanel
III. How To Set Your Default Address in cPanel
IV. How To Set up an Autoresponder in cPanel
V. How To Set up Email Forwarding in cPanel
VI. How To Set up Email Filters in cPanel
VII. How To Enable Spam Protection in cPanel
VIII. How To Add an MX Entry in cPanel
IX. How To Use Webmail from Within cPanel
X. How To Change Your cPanel Password
XI. How To Update Your Contact Information in cPanel
XII. How To Change Your cPanel Theme
XIII. How To Change the Primary Language in cPanel
XIV. How To Add a Record With the DNS Zone Editor in cPanel
XV. How To Back up Your Website in cPanel
XVI. How To Use the Disk Space Usage Tool in cPanel
XVII. How To Create Additional FTP Accounts in cPanel
XVIII. How To Password Protect a Directory in cPanel
XIX. How To Use the IP Blocker in cPanel
XX. How To Set up Hotlink Protection in cPanel
XXI. How To Create a Subdomain in cPanel
XXII. How To Create an Addon Domain in cPanel
XXIII. How To Create a Domain Alias in cPanel
XXIV. How To Set up Domain Redirects in cPanel
XXV. How To Create a MySQL Database in cPanel
XXVI. How To Use the Index Manager in cPanel
XXVII. How To Create Custom Error Pages in cPanel
XXVIII. How To Set up a Cron Job in cPanel
- This tutorial assumes you’ve already opened your browser and entered your cPanel login URL.

- Now log in to cPanel using the username and password provided to you.

- That’s it! You’re now logged in to cPanel, and can begin to setup email accounts, parked domains, databases, shopping carts, and dozens of other features.

- To logout of cPanel, click the logout icon in the upper right corner.

- This is the end of the tutorial. Be sure to check out the other cPanel tutorials to learn all the great features available to you.

II. How To Create an Email Account in cPanel
III. How To Set Your Default Address in cPanel
IV. How To Set up an Autoresponder in cPanel
V. How To Set up Email Forwarding in cPanel
VI. How To Set up Email Filters in cPanel
VII. How To Enable Spam Protection in cPanel
VIII. How To Add an MX Entry in cPanel
IX. How To Use Webmail from Within cPanel
X. How To Change Your cPanel Password
XI. How To Update Your Contact Information in cPanel
XII. How To Change Your cPanel Theme
XIII. How To Change the Primary Language in cPanel
XIV. How To Add a Record With the DNS Zone Editor in cPanel
XV. How To Back up Your Website in cPanel
XVI. How To Use the Disk Space Usage Tool in cPanel
XVII. How To Create Additional FTP Accounts in cPanel
XVIII. How To Password Protect a Directory in cPanel
XIX. How To Use the IP Blocker in cPanel
XX. How To Set up Hotlink Protection in cPanel
XXI. How To Create a Subdomain in cPanel
XXII. How To Create an Addon Domain in cPanel
XXIII. How To Create a Domain Alias in cPanel
XXIV. How To Set up Domain Redirects in cPanel
XXV. How To Create a MySQL Database in cPanel
XXVI. How To Use the Index Manager in cPanel
XXVII. How To Create Custom Error Pages in cPanel
XXVIII. How To Set up a Cron Job in cPanel
- This tutorial assumes you’ve already logged in to cPanel, and are starting on the home screen.

- Now let’s create a new email account.

- Click the Email Accounts icon.

- Enter the email address you want to create, and assign it a password.

- Set a mailbox quota for the account if you wish.

- Then click “Create Account”.

- That’s it! The new email account has been successfully created.

- From the Email Accounts screen you can access webmail for the account, change its password, change the quota, or even delete the account.

How To Install Varnish on Fedora 23
Varnish is a web accelerator, specifically a caching HTTP reverse proxy, designed to improve performance for busy, dynamic websites. By redirecting traffic to static pages whenever possible, Varnish reduces the number of dynamic page calls, thus reducing load.
How To Install XCache on Fedora 23
Pre-Flight Check
- These instructions are intended specifically for installing XCache, an open-source opcode caching tool, on Fedora 23. To install XCache on another operating system, follow our guides for CentOS 7, Ubuntu 14.04 LTS, and Ubuntu 15.04.
- We’ll be logging in as a non-root user to a Liquid Web Self-Managed Fedora 23 server. If you need more information then visit our tutorial on How to Add a User and Grant Root Privileges on Fedora 23.
Preflight Check
- These instructions are intended specifically for solving the error: “sec_error_ocsp_try_server_later”.
- This error can be displayed anytime a user visits a secure website using the https:// protocol in Firefox or Internet Explorer. It does not indicate a problem with the site itself, but occurs due to a change in the method these specific browsers used to check for revoked SSL certificates.
- We’ll be logging into WebHost Manager as root to resolve the error.
How To Install Memcached on Fedora 23
Memcached is a high-performance distributed, in-memory caching system. It primarily is used to speed up sites that make heavy use of databases. It also can, however, be used to store any kind of object.
How To Install Squid on Fedora 23
Squid is a caching and forwarding web proxy. It is most often used in conjunction with a traditional LAMP stack (Linux, Apache, MySQL, PHP), and can be used to filter traffic on HTTP, FTP, and HTTPS, and increase the speed (thus lower the response time) for a web server via caching.
PostgreSQL is a free, open-source object-relational database management system (object-RDBMS), similar to MySQL, and is standards-compliant and extensible. It often is used as a back-end for web and mobile applications. PostgreSQL, or ‘Postgres’ as it is nicknamed, adopts the ANSI/ISO SQL standards together, with the revisions.
Our Sales and Support teams are available 24 hours by phone or e-mail to assist.

